


Installing a bathroom vanity light above your mirror changes how the room looks. You make the space look modern when you pick the right fixture and put it in the right spot. Most people care about how good the lighting is when they plan a bathroom.
96% of people think good lighting is important in bathroom design.
93% like having natural light.
55% of designers say people care about health and wellness in lighting.
Lighting experts say putting the bathroom vanity light in the right place helps style and function.
Aspect |
Impact on Style and Functionality |
|---|---|
Light Distribution |
Even light helps stop harsh shadows. |
Aesthetic Appeal |
The right fixture makes the room feel welcoming. |
Installation Height |
Mounting at eye level stops glare. |
Distance from Mirror |
About 75 to 80 inches above the floor gives balanced lighting. |
Ambiance |
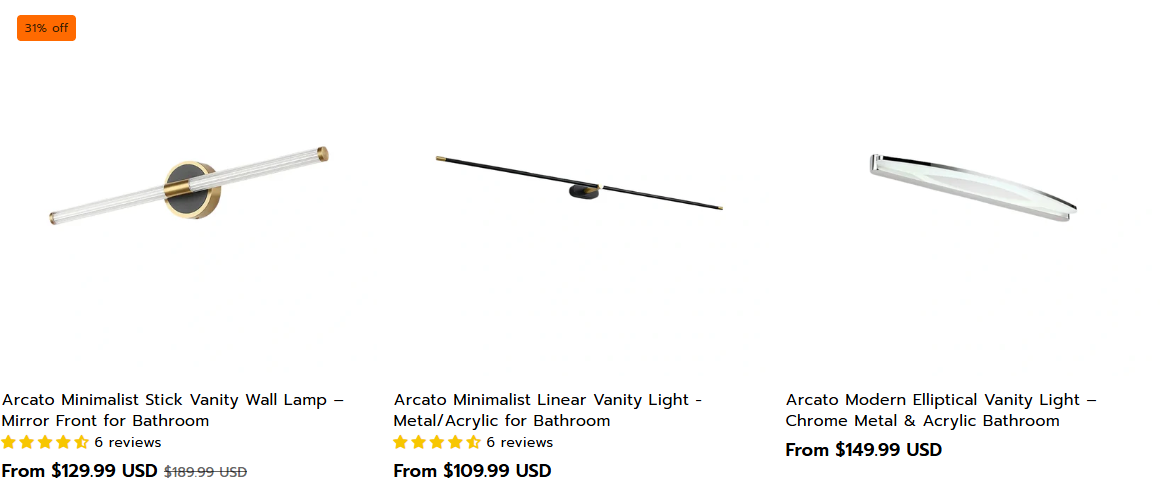
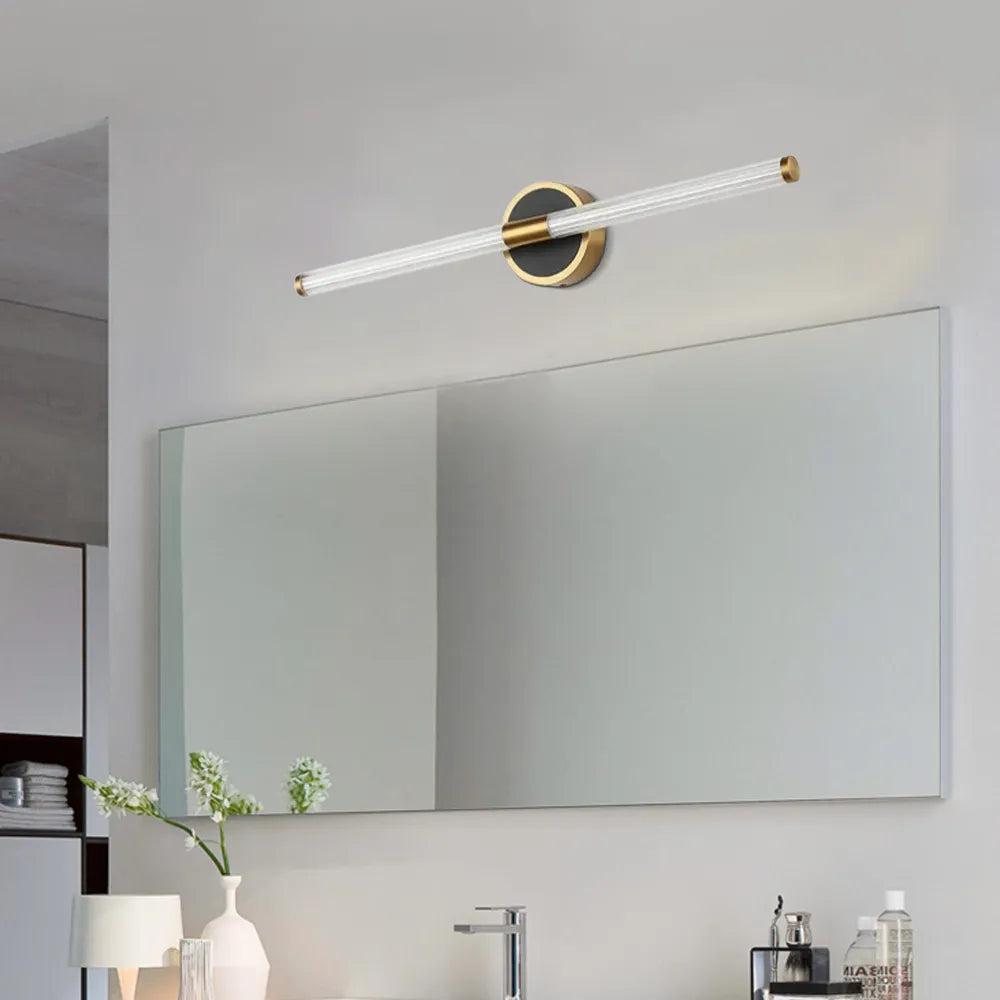
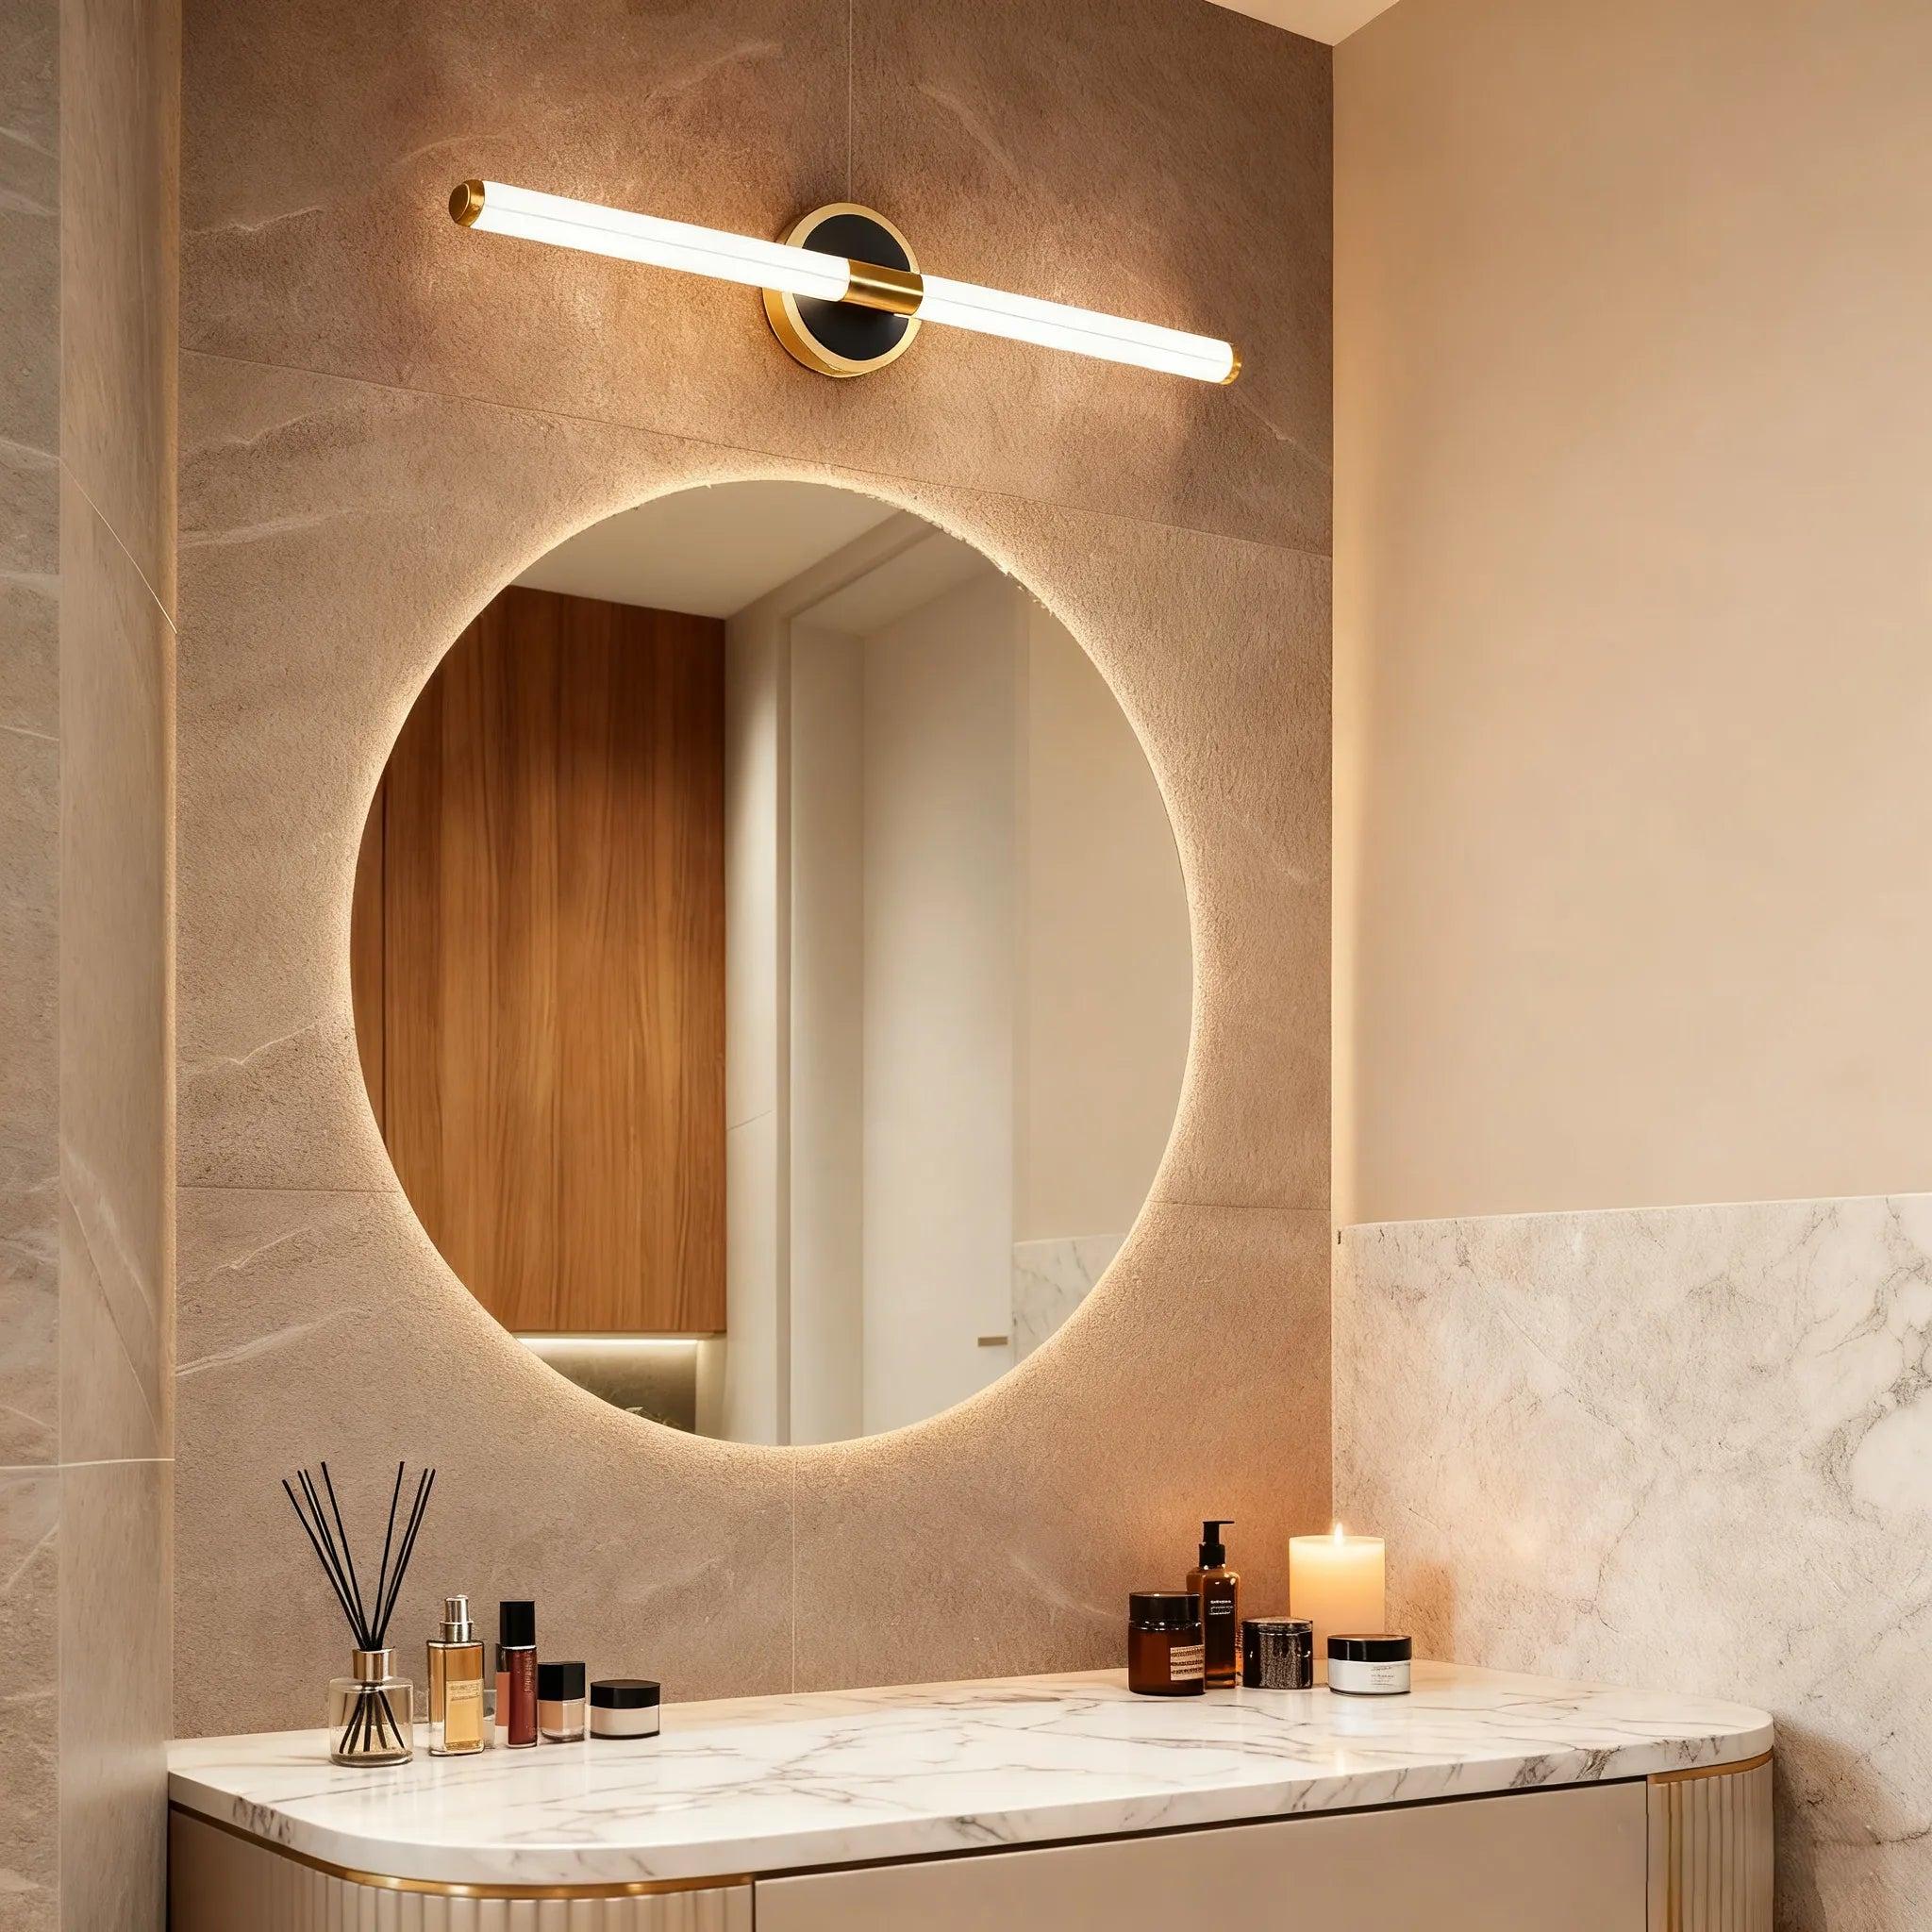
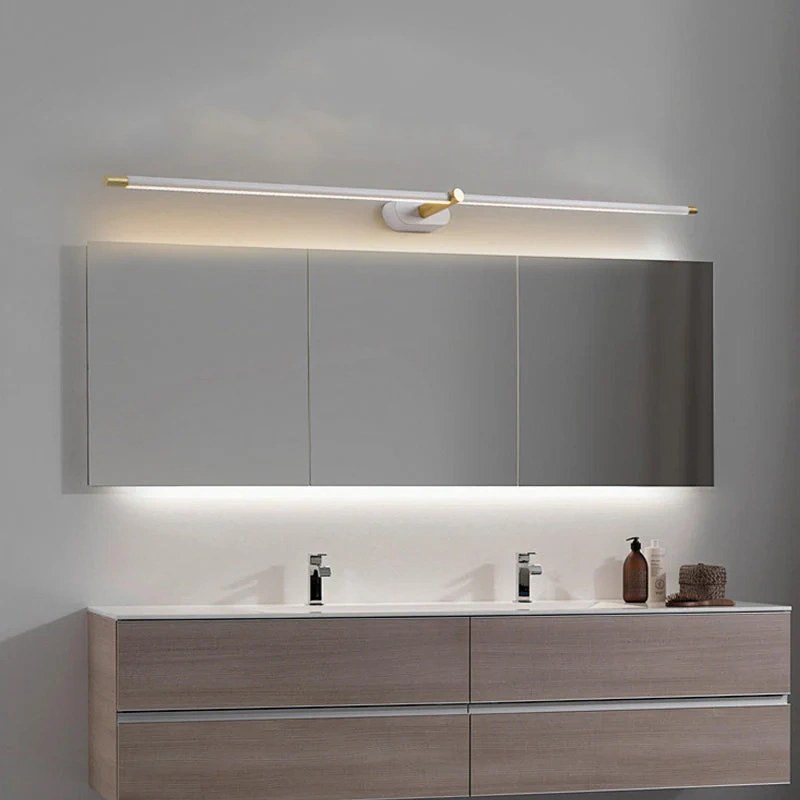
You can pick a modern fixture like the Arcato Minimalist Stick Vanity Wall Lamp for your vanity lighting. This bathroom vanity light has a simple design, lets you change color temperatures, and is waterproof. Good bathroom lighting starts with the right bathroom vanity light, and the right fixture makes your bathroom work well and look nice.
Key Takeaways
Put your bathroom vanity light 75 to 80 inches from the floor. This helps the light spread out evenly. It also stops strong shadows from showing up.
Place the light fixture 5 to 10 inches above the mirror. This makes the light balanced for things you do every day.
Pick waterproof fixtures like the Arcato Minimalist Stick Vanity Wall Lamp. This keeps you safe and looks nice in wet bathroom spaces.
Placement for Over Vanity Lighting
Ideal Height for Bathroom Vanity Light
You want your bathroom to feel bright and friendly. The height of your vanity light is important. Experts say to put the fixture 75 to 80 inches from the floor. This height is just above most adults’ eyes. You get even light and do not have strong shadows on your face.
Put the fixture 75–80 inches above the floor for best lighting.
If your vanity is low, place the fixture closer to the floor.
If your vanity is high, put the fixture a bit higher.
This easy tip helps you see yourself well in the mirror.
Centering Above Mirror
It is best to center your light above the mirror. Put the light 5 to 10 inches above the mirror for good lighting. This way, you get balanced light and your daily tasks are easier.
Mirror Type |
Recommended Placement |
|---|---|
Standard Mirror |
5–10 inches above the mirror |
Tall Mirror |
Move the light to match eye level |
Tip: Change the fixture height for people of different heights. This way, everyone gets good light.
Adjusting for Single or Double Vanity
Lighting changes if you have one or two vanities. For one mirror, use a fixture on each side at eye level or a little higher. This stops shadows and gives even light. For two vanities or wide mirrors, use more fixtures spaced out along the mirror.
Put one fixture on each side for single vanities.
Use more fixtures for double vanities, spacing them evenly.
These tips help your bathroom look modern and work better.
Tools and Materials for Hanging Bathroom Vanity Lighting
Get your tools and materials before you start. This makes the job easier and safer.
Essential Tools List
You need some basic tools to hang bathroom vanity lighting. The table below lists what you need and why it matters:
Tool |
Description |
|---|---|
Phillips Screwdriver |
Secures the fixture to the wall |
Level |
Ensures the fixture sits straight |
Electrical Tape |
Keeps electrical connections safe |
Light Bulb |
Use a maximum 100 Watt Type A bulb |
Tip: Gather your tools before you start. This helps you finish faster and not stop in the middle.
Safety Equipment
Safety is very important when working with electricity. Protect yourself and your home by following these steps:
Use GFCI protection on all bathroom circuits to stop electric shock.
Make sure all outlets have ground fault circuit interrupters.
Ask a licensed electrician for help if you are unsure.
Note: It is best to let a professional install hardwired fixtures like the Arcato Minimalist Stick Vanity Wall Lamp.
Selecting Vanity Lighting Fixtures
Picking the right fixture helps your bathroom look good and stay safe. Look for these features:
Feature |
Importance |
|---|---|
Shows true colors for things like makeup |
|
Safety Ratings |
Keeps you safe from water and short circuits |
Glare Reduction |
Makes the light softer and stops harsh shadows |
Energy Efficiency |
Saves money and helps the planet |
Smart Technology |
Lets you change color temperature and makes things easier |
The Arcato Minimalist Stick Vanity Wall Lamp is a great choice. It lets you change the color temperature, has a simple gold look, and is waterproof with an IP44 rating. You can use it in many bathroom areas, and it is safe for damp places. The built-in LED uses less energy, so your bills go down.

Remember: Installing a new fixture can cost between $125 and $900. The price depends on the type of vanity lighting and the work needed.
When you pick the right fixture and use the right tools, your bathroom will be safer and look better.
Preparation for Proper Bathroom Lighting
Power Off and Safety Checks
You need to make safety your first step before you install any bathroom lighting. Always turn off the power at the circuit breaker. Never trust a wall switch alone. Use a voltage tester to check that the wires are not live. Good safety habits protect you and your home.
Tip: Make sure your bathroom circuits have Ground Fault Circuit Interrupters (GFCIs). These devices help prevent electric shock. Choose fixtures with the right IP rating for wet areas. If you feel unsure, ask a qualified electrician to help. Following local codes keeps your project safe and legal.
Removing Old Fixtures
Taking out an old light fixture helps you prepare for proper bathroom lighting. Follow these steps for a safe removal:
Disconnect the wires at the switch box if you plan to remove them.
Push unused wires back into the wall.
Make sure all wire connections stay in an accessible box. Never bury them inside the wall.
You keep your workspace safe and ready for the new fixture when you follow these steps.
Inspecting Electrical Box
Check the electrical box before you install new bathroom lighting. You want the box to be large enough for all wires and connections. This prevents overheating. Pick a box made of metal for better grounding and fire resistance, or use plastic if it fits your needs. Make sure the box can hold the weight and electrical load of your new vanity light. A strong box supports proper bathroom lighting and keeps your installation safe.
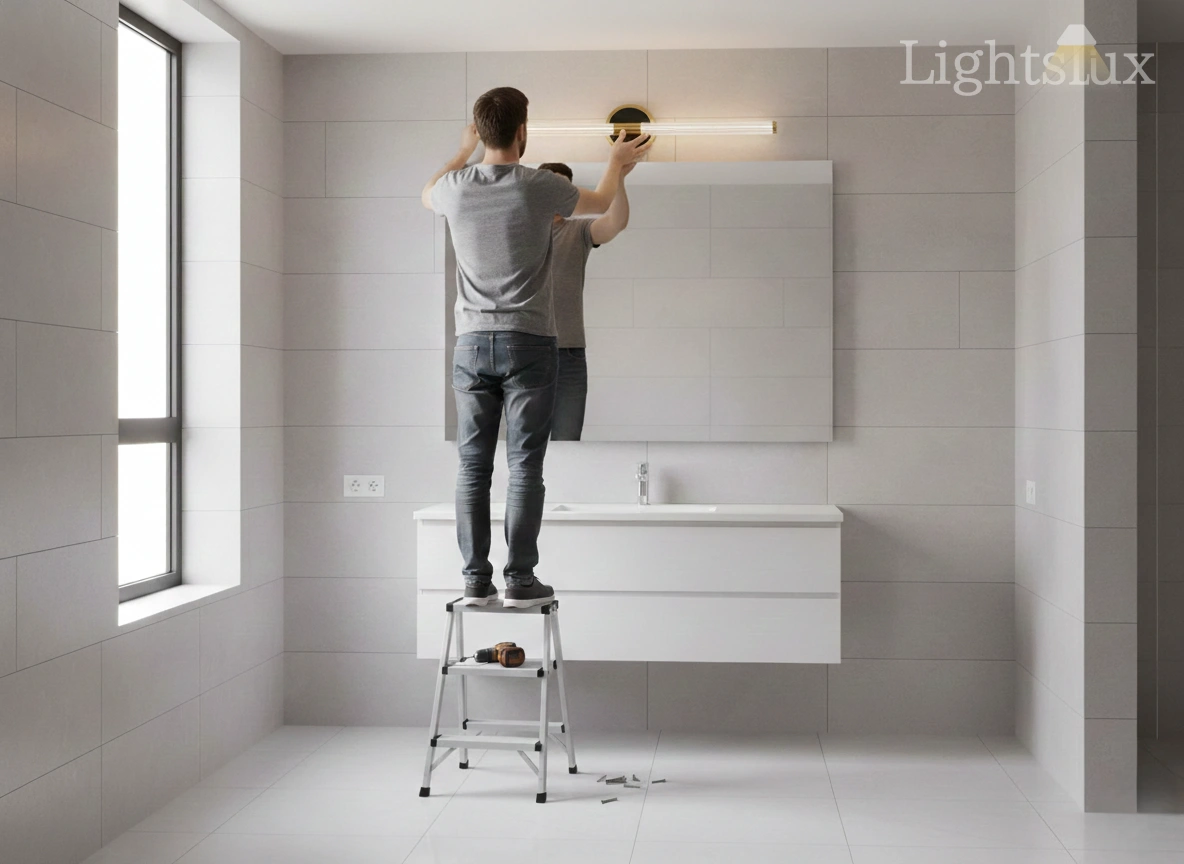
Measuring and Marking for Vanity Lighting

Marking Mounting Location
You need to measure and mark the right spot before you install your vanity light. This step helps you get the best look and function. For fixtures above the mirror, place the center of the backplate between 75 and 80 inches from the floor. Leave at least 2 to 3 inches between the top of your mirror and the bottom of the light fixture. This space keeps the light from feeling crowded and gives you even lighting.
Place the center of the backplate 75–80 inches from the floor.
Keep 2–3 inches between the top of the mirror and the bottom of the fixture.
If you use sconces on the sides, set them at eye level, about 64 to 66 inches from the floor. Make sure each sconce sits 36 to 40 inches apart and at least 4 inches from the mirror’s edge.
Leveling and Alignment
You want your vanity light to look straight and balanced. Use a level to check your marks before you drill. Proper alignment with the vanity and mirror keeps the room looking neat. If you hang the light too high or too low, you might get shadows or glare. Spacing between the mirror and the fixture also matters. Good spacing makes the whole area look calm and organized.
Check your marks with a level.
Align the fixture with the center of the mirror and vanity.
Adjusting for Mirror Size and Faucet Type
Every bathroom is different. You may have a wide mirror or a tall faucet. Adjust your mounting marks to fit your space. For a large mirror, center the fixture so the light spreads evenly. If your faucet is tall, raise the fixture a bit to avoid blocking the light. Always step back and look at your marks before you start drilling. This check helps you get the best results for your bathroom.
Tip: Take your time with measuring and marking. Careful planning leads to a professional look.
Installation Steps for Bathroom Vanity Light
Installing a new vanity lighting fixture above your bathroom mirror can make your space brighter and more stylish. Follow these steps to make sure your bathroom lighting is safe and secure.
Mounting Bracket Installation
You need to start with the mounting bracket. This part holds your vanity lighting fixture in place. Here is a step-by-step guide:
Turn off the power at the circuit breaker. Always check with a voltage tester to make sure the wires are not live.
Gather your tools and materials. You will need a ladder, screwdrivers, wire strippers, a voltage tester, electrical tape, wire nuts, a level, and a drill if needed. Ask a friend or family member to help if possible.
Check the electrical box. Make sure it is strong enough to hold your new bathroom lighting fixture. The box should not move or wiggle.
Remove the old vanity lighting fixture. Unscrew it from the wall and disconnect the wires.
Assemble your new fixture. Follow the instructions that come with your light. Attach the mounting bracket to the electrical box using the screws provided.
Use a level to make sure the bracket is straight. Adjust if needed before you tighten the screws.
Tip: Always double-check that the bracket is secure before moving to the next step. A loose bracket can cause problems later.
Wiring the Fixture
Wiring your vanity lighting fixture is an important step. You must work carefully to keep everything safe.
Switch off the power at the breaker before you touch any wires.
Use tools made for electrical work. This keeps you safe and helps you do a better job.
Match the wires from the fixture to the wires in the wall. Usually, black connects to black (hot), white to white (neutral), and green or bare copper to the ground wire.
Twist the wires together using wire nuts. Cover the connections with electrical tape for extra safety.
Tuck the wires neatly into the electrical box. Make sure nothing sticks out or gets pinched.
Note: Only use fixtures made for damp areas in your bathroom. This keeps water away from the wiring and helps prevent accidents.
Securing the Light
You want your new bathroom lighting fixture to stay in place for many years. Secure it using the right method for your wall and fixture type. Here is a table showing common mounting techniques:
Mounting Technique |
Description |
|---|---|
Wall Mounting |
Attach the fixture to the wall using the bracket. Make sure the wall can hold the weight. |
Pole Mounting |
Use poles for special fixtures. Choose strong hardware for stability. |
Foundation Mounting |
Use concrete for heavy fixtures. This is rare for indoor bathroom lighting. |
Cross-arm Mounting |
Add extra support for large or heavy fixtures. |
Reinforcement Techniques |
Use anchors or bolts for extra strength, especially in older homes. |
Most bathroom lighting fixtures use wall mounting. Tighten all screws and bolts. Give the fixture a gentle shake to check if it feels solid. If it moves, tighten the screws again.
Installation tips: Always follow the instructions from the manufacturer. If you feel unsure about any step, ask a licensed electrician for help.
You have now finished the main steps for installing your vanity lighting. You can enjoy a brighter and safer bathroom every day.
Testing and Final Touches
Power On and Light Test
After you finish installing your bathroom lighting, you need to test it. Start by turning the breaker back on. Make sure you use the correct switch. Check that all wiring connections are tight and safe. Look at the bulb to see if it is the right type and wattage. The fixture should sit flush against the wall. When you turn on the light, watch for even brightness. If you use the Arcato Minimalist Stick Vanity Wall Lamp, try the adjustable color temperature feature. You can switch between warm and cool tones. This helps you get the right brightness for any task. Cooler light works well for shaving or makeup. Warmer light feels relaxing after a long day.
Turn on the breaker.
Confirm the bulb is correct.
Make sure the fixture is secure.
Test the brightness and color settings.
Tip: Adjustable color temperature lets you change the mood in your bathroom lighting. Use cool white for tasks and warm white for relaxing.
Checking Installation Security
You want your bathroom lighting to stay safe and strong. Gently shake the fixture to see if it moves. Tighten any loose screws. Look for gaps between the fixture and the wall. The Arcato lamp has an IP44 waterproof rating, so it works well in humid spaces. This rating keeps your bathroom lighting safe from water. Always check that the fixture feels solid before you finish.
Checkpoint |
What to Look For |
|---|---|
Fixture Movement |
No wobbling or shifting |
Wall Contact |
Flush with no gaps |
Waterproof Rating |
IP44 or higher for bathrooms |
Wiring |
All connections secure |
Note: Waterproof bathroom lighting protects your home and keeps you safe.
Professional Vanity Lighting Tips
You can make your bathroom lighting look even better with a few simple tips. Mount sconces at eye level, about 60 to 65 inches from the floor. Place over-the-mirror lights 75 to 80 inches high or at least 3 inches above the mirror. Use dimmers to control brightness. Dimmers help you set the right brightness for any time of day. Adjustable color temperature, like on the Arcato lamp, lets you pick the best light for your needs. Smart lighting can even mimic daylight and support your daily routine.
Mount sconces at eye level.
Place over-mirror lights at the right height.
Try adjustable color temperature for different activities.
Pick waterproof fixtures for humid rooms.
Choose energy-saving bathroom lighting for lower bills.
Tip: Good bathroom lighting and smart tips make your space brighter, safer, and more stylish.
You should follow each step when you install a bathroom vanity light. Always make sure you are safe before you begin. If your fixture is hardwired, get help from a professional. Modern lights such as the Arcato lamp make your bathroom brighter and look nice. Good lighting helps you with your daily tasks.
FAQ
How high should you install a bathroom vanity light above the mirror?
Put the light 75 to 80 inches above the floor. This height helps spread light evenly. It also stops shadows from showing on your face.
Can you install the Arcato Minimalist Stick Vanity Wall Lamp in a humid bathroom?
Yes, you can use the Arcato lamp in humid bathrooms. It has an IP44 waterproof rating. You can put it above sinks or near mirrors safely.
Do you need an electrician to install a hardwired vanity light?
It is best to hire a licensed electrician for hardwired lights. This keeps you safe and makes sure the work follows electrical rules.


