
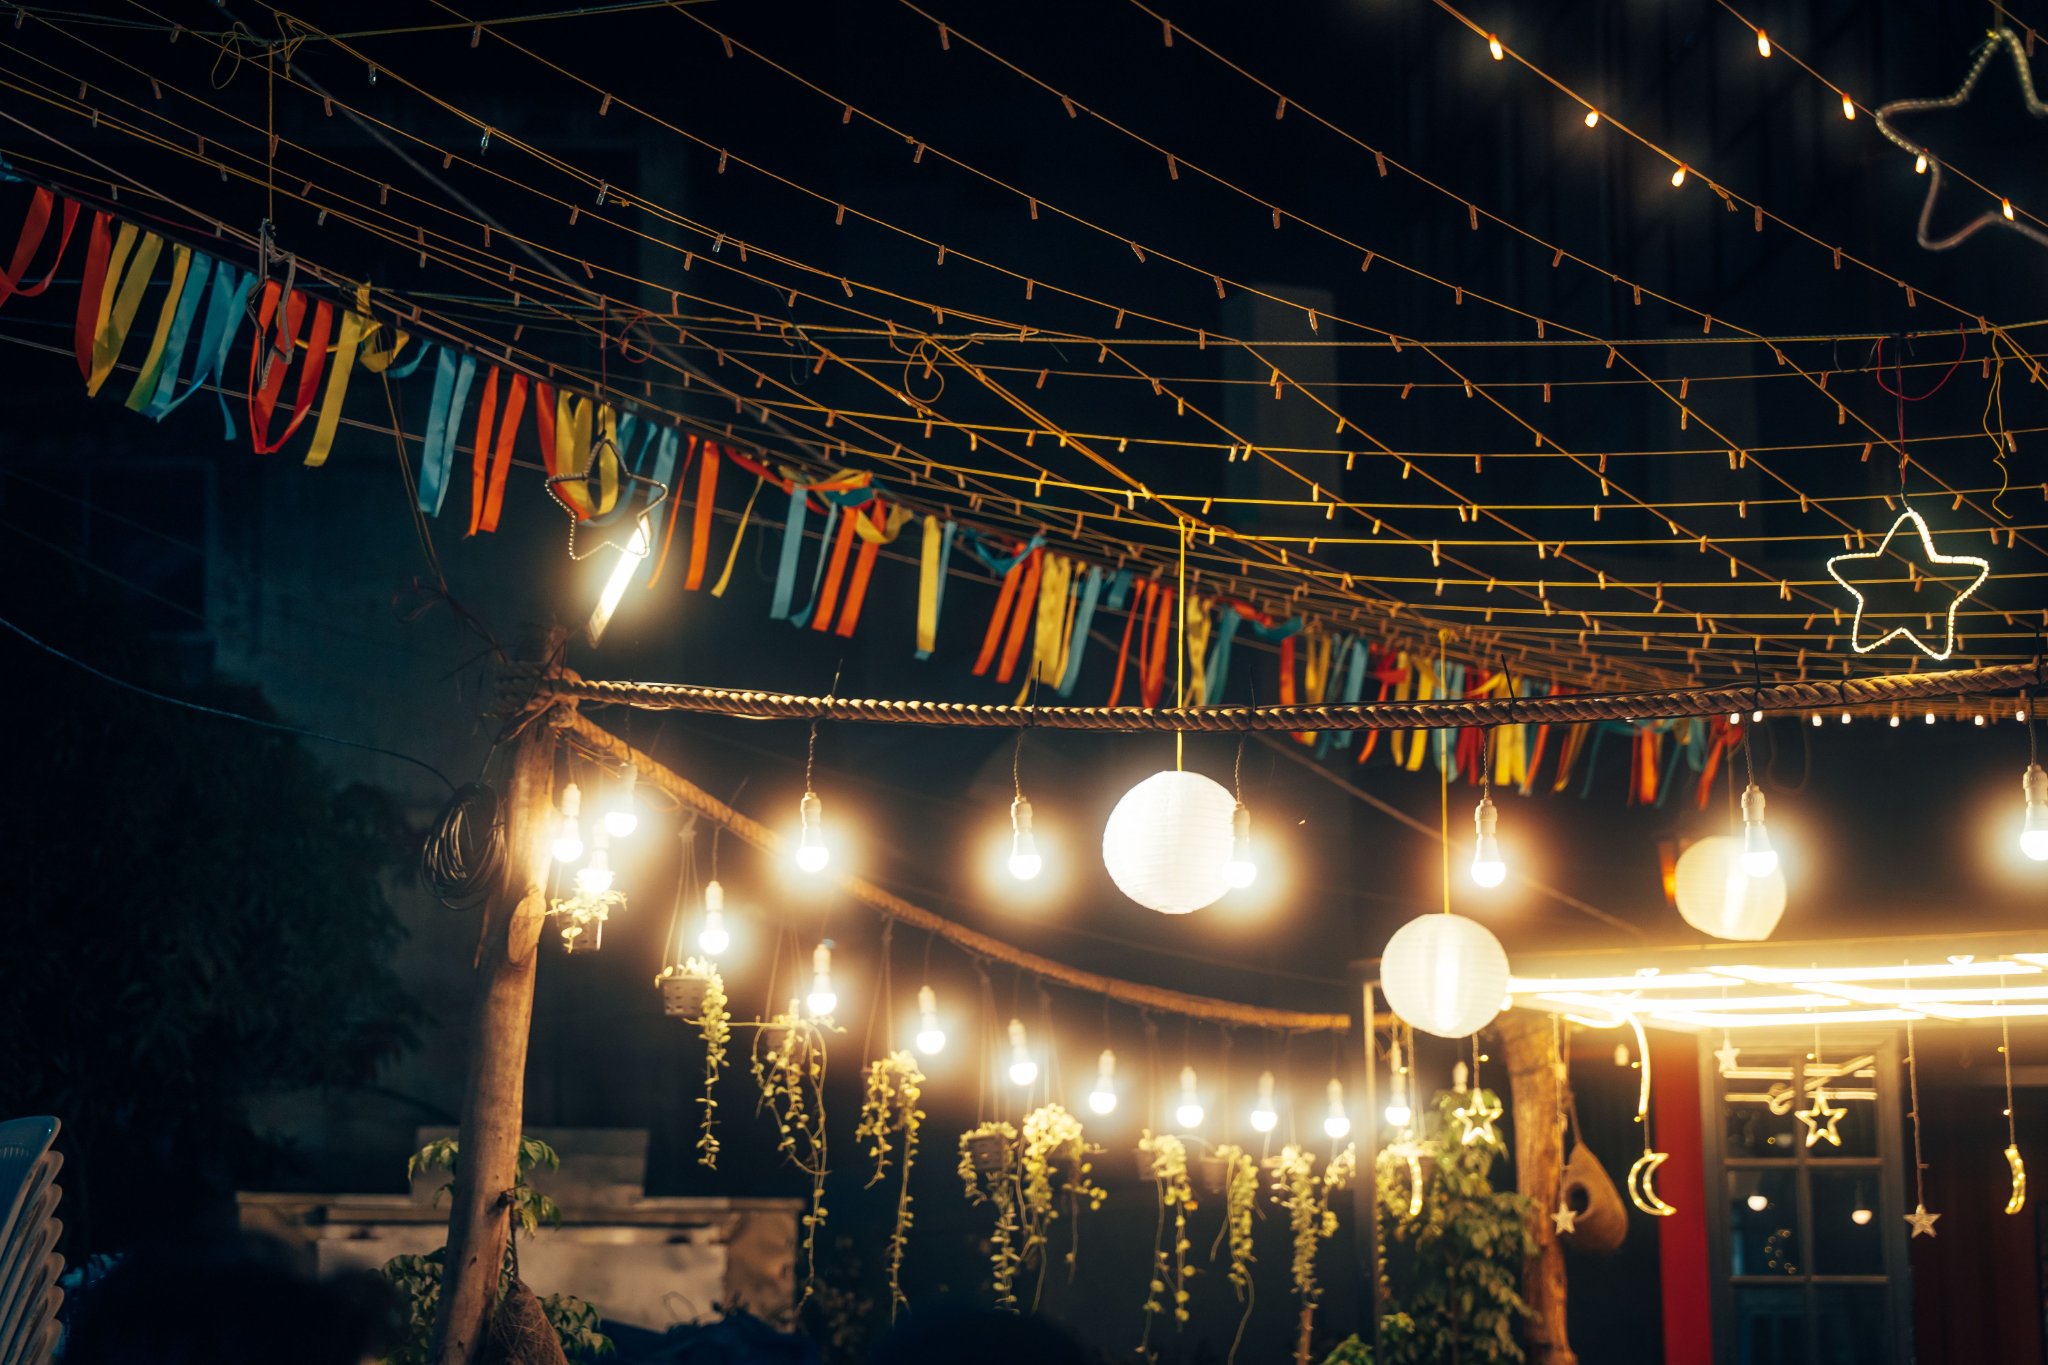
Outdoor string lights can make a plain patio feel like an outdoor living room, turn a pergola into a cozy evening retreat, or give a backyard a warm, restaurant-style glow. But getting that polished look is not as simple as stringing lights from one point to another.
If the span is too long, the lights can sag. If the attachment points are inconsistent, the installation can look messy or cheap. And if the lights, supports, cords, or connections are not appropriate for outdoor use, a decorative project can become a safety problem.
The good news is that you do not need a complicated lighting system to get a professional-looking result.
The key is to treat outdoor string lights as both a lighting system and a layout problem: plan the space first, build enough support, create controlled curves, and finish with a safety inspection.
Quick Answer: How Do You Hang Outdoor String Lights the Right Way?
The best way to hang outdoor string lights is to plan the layout before installation, use secure attachment points, add a guide wire for long or heavy spans when appropriate, and leave a small amount of intentional sag rather than pulling the lights completely tight.
For a polished installation:
Measure the space before buying or hanging the lights.
Choose a layout that fits the shape of your patio, deck, pergola, or backyard.
Use secure mounting points and a guide wire when the span needs additional support.
Keep the height, spacing, and pattern visually consistent.
Use lights and electrical connections rated for the outdoor conditions where they will be installed.
Inspect the entire installation before turning it on.
The goal is not to make every string perfectly straight. It is to create a layout that looks intentional, stays securely supported, and remains safe for the space.
Why Outdoor String Lights Sag, Look Messy, or Fail
Most problems with outdoor string lights can be traced back to three things: insufficient support, poor planning, or unsuitable installation conditions.
If the lights sag too much
The span may be too long for the available attachment points, or the string itself may be carrying more weight than the mounting system was designed to support.
If the installation looks cheap
The problem is often visual rather than financial.
Uneven heights, random crossing, inconsistent spacing, excessive cable, and uncontrolled curves can make even good-quality lights look improvised.
If the installation becomes a safety problem
The risks can come from damaged cords, unsuitable outdoor ratings, loose mounting points, exposed connections, trip hazards, or installation practices that do not follow the manufacturer's instructions or local requirements.
This is why the best installations begin before the first bulb goes up.
You are not simply asking:
“Where can I hang these lights?”
You are asking:
“What layout will work for this space, and what support does that layout require?”
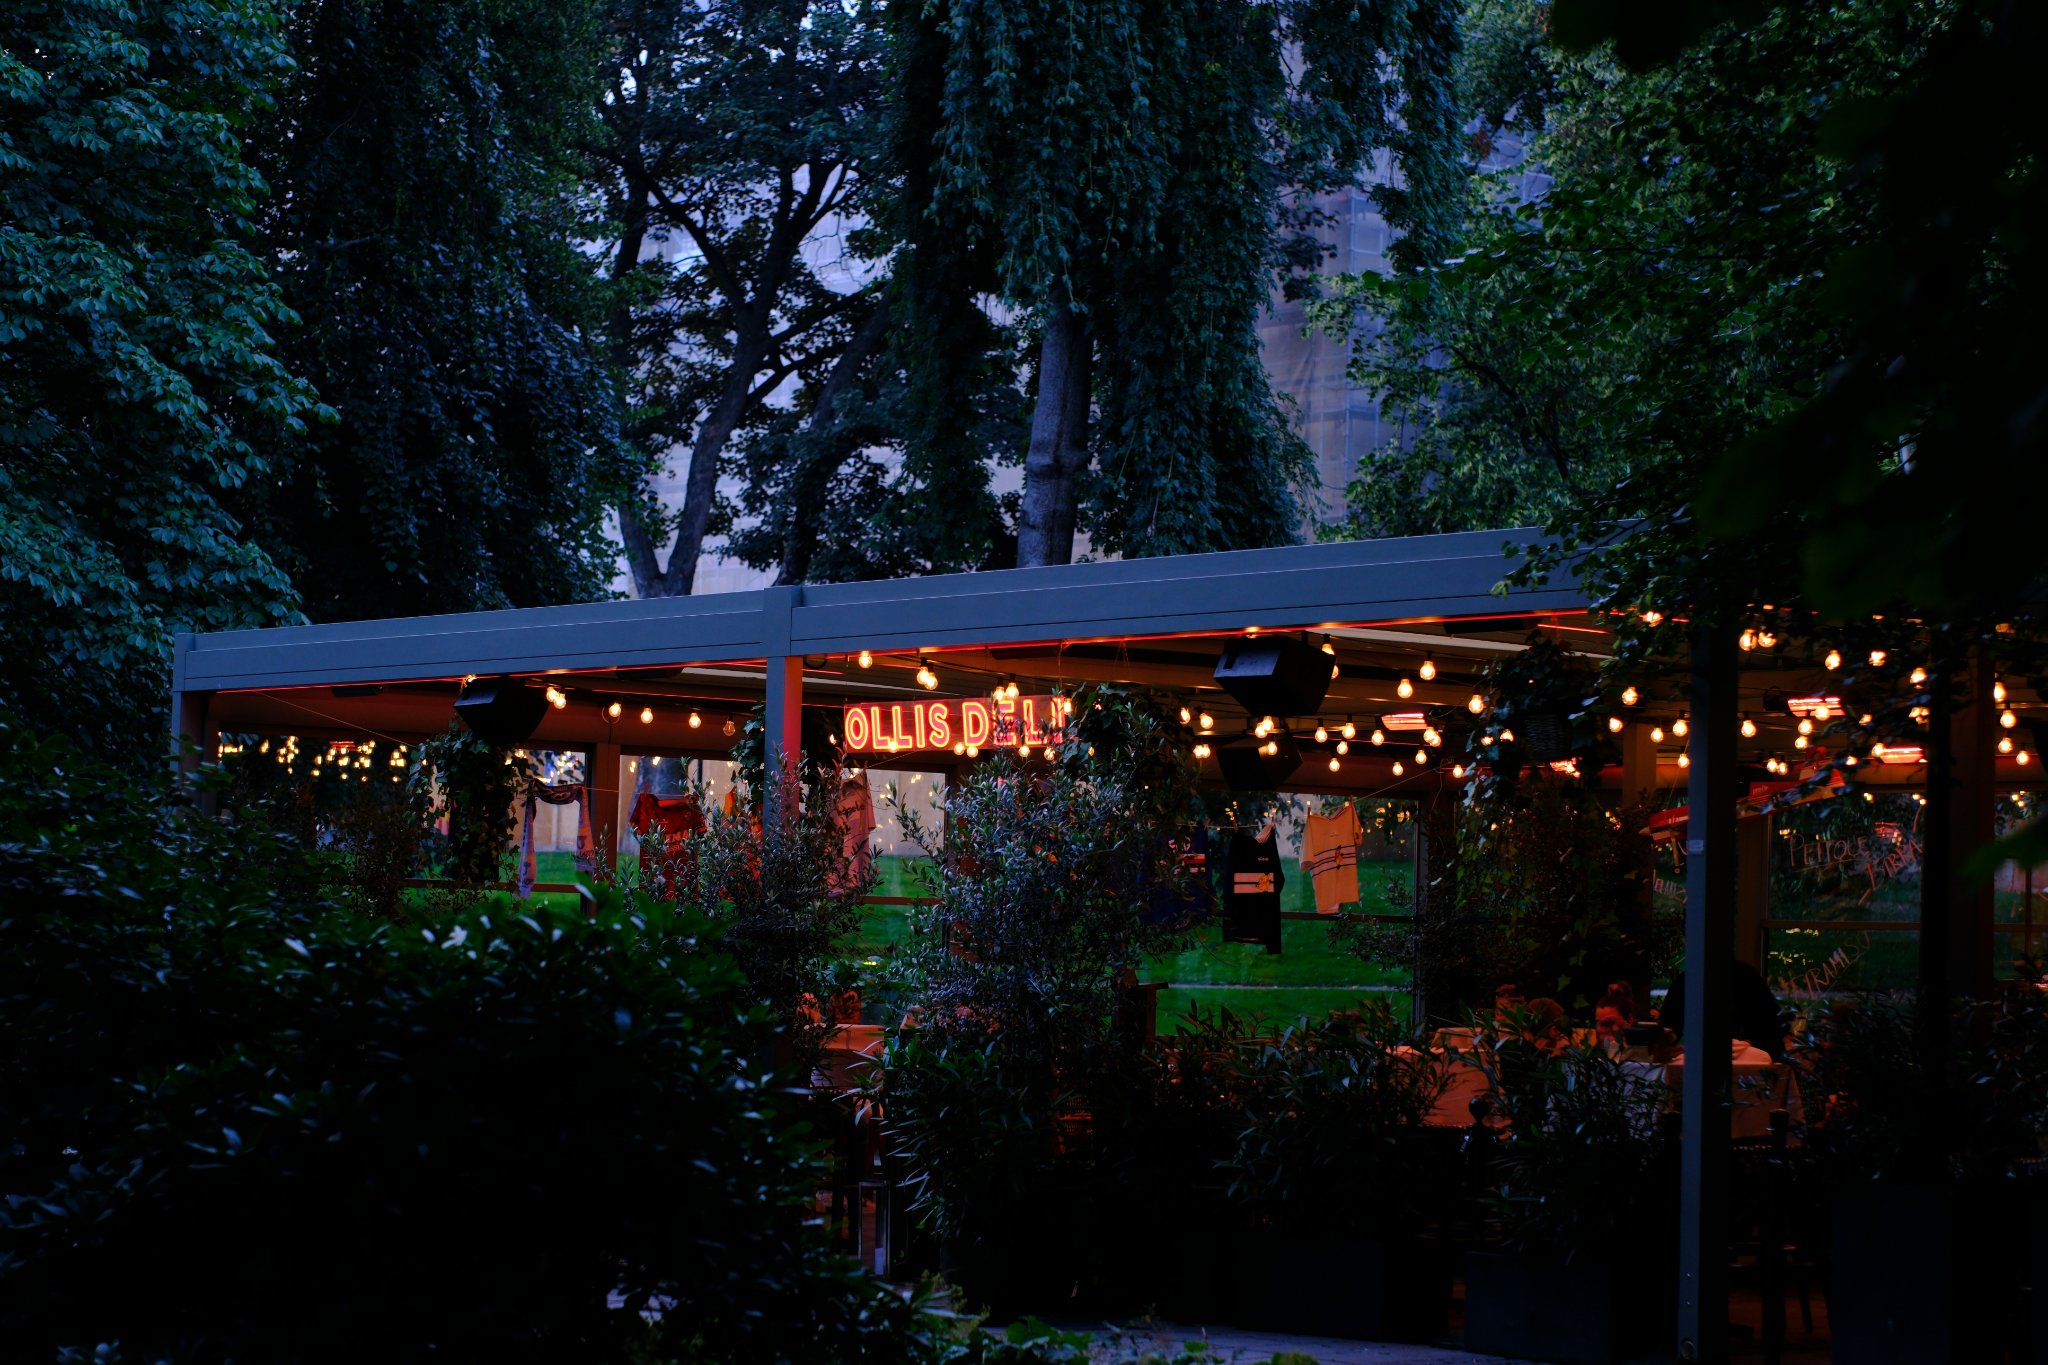
Start With Your Space: Where Are You Hanging the Lights?
The right installation method depends heavily on the structure you already have.
Before choosing hooks, poles, wires, or clips, identify what will support each end of the string and what will support the weight between those points.
Outdoor Space |
Best Layouts |
Main Goal |
What to Watch For |
|---|---|---|---|
Perimeter, Zigzag, Parallel |
Dining & entertaining |
Keep walking areas clear |
|
Deck |
Perimeter, Parallel, Zigzag |
Define the outdoor living area |
Avoid trip hazards |
Perimeter, Zigzag, X, Parallel |
Create an overhead glow |
Keep the pattern consistent |
|
Fence |
Perimeter |
Define the boundary |
Make sure attachment points are strong enough |
Open Backyard |
Zigzag, Perimeter |
Create a “ceiling” of light |
May require poles or additional support |
Rental Home |
Perimeter, simple spans |
Temporary decoration |
Use appropriate removable mounting methods |
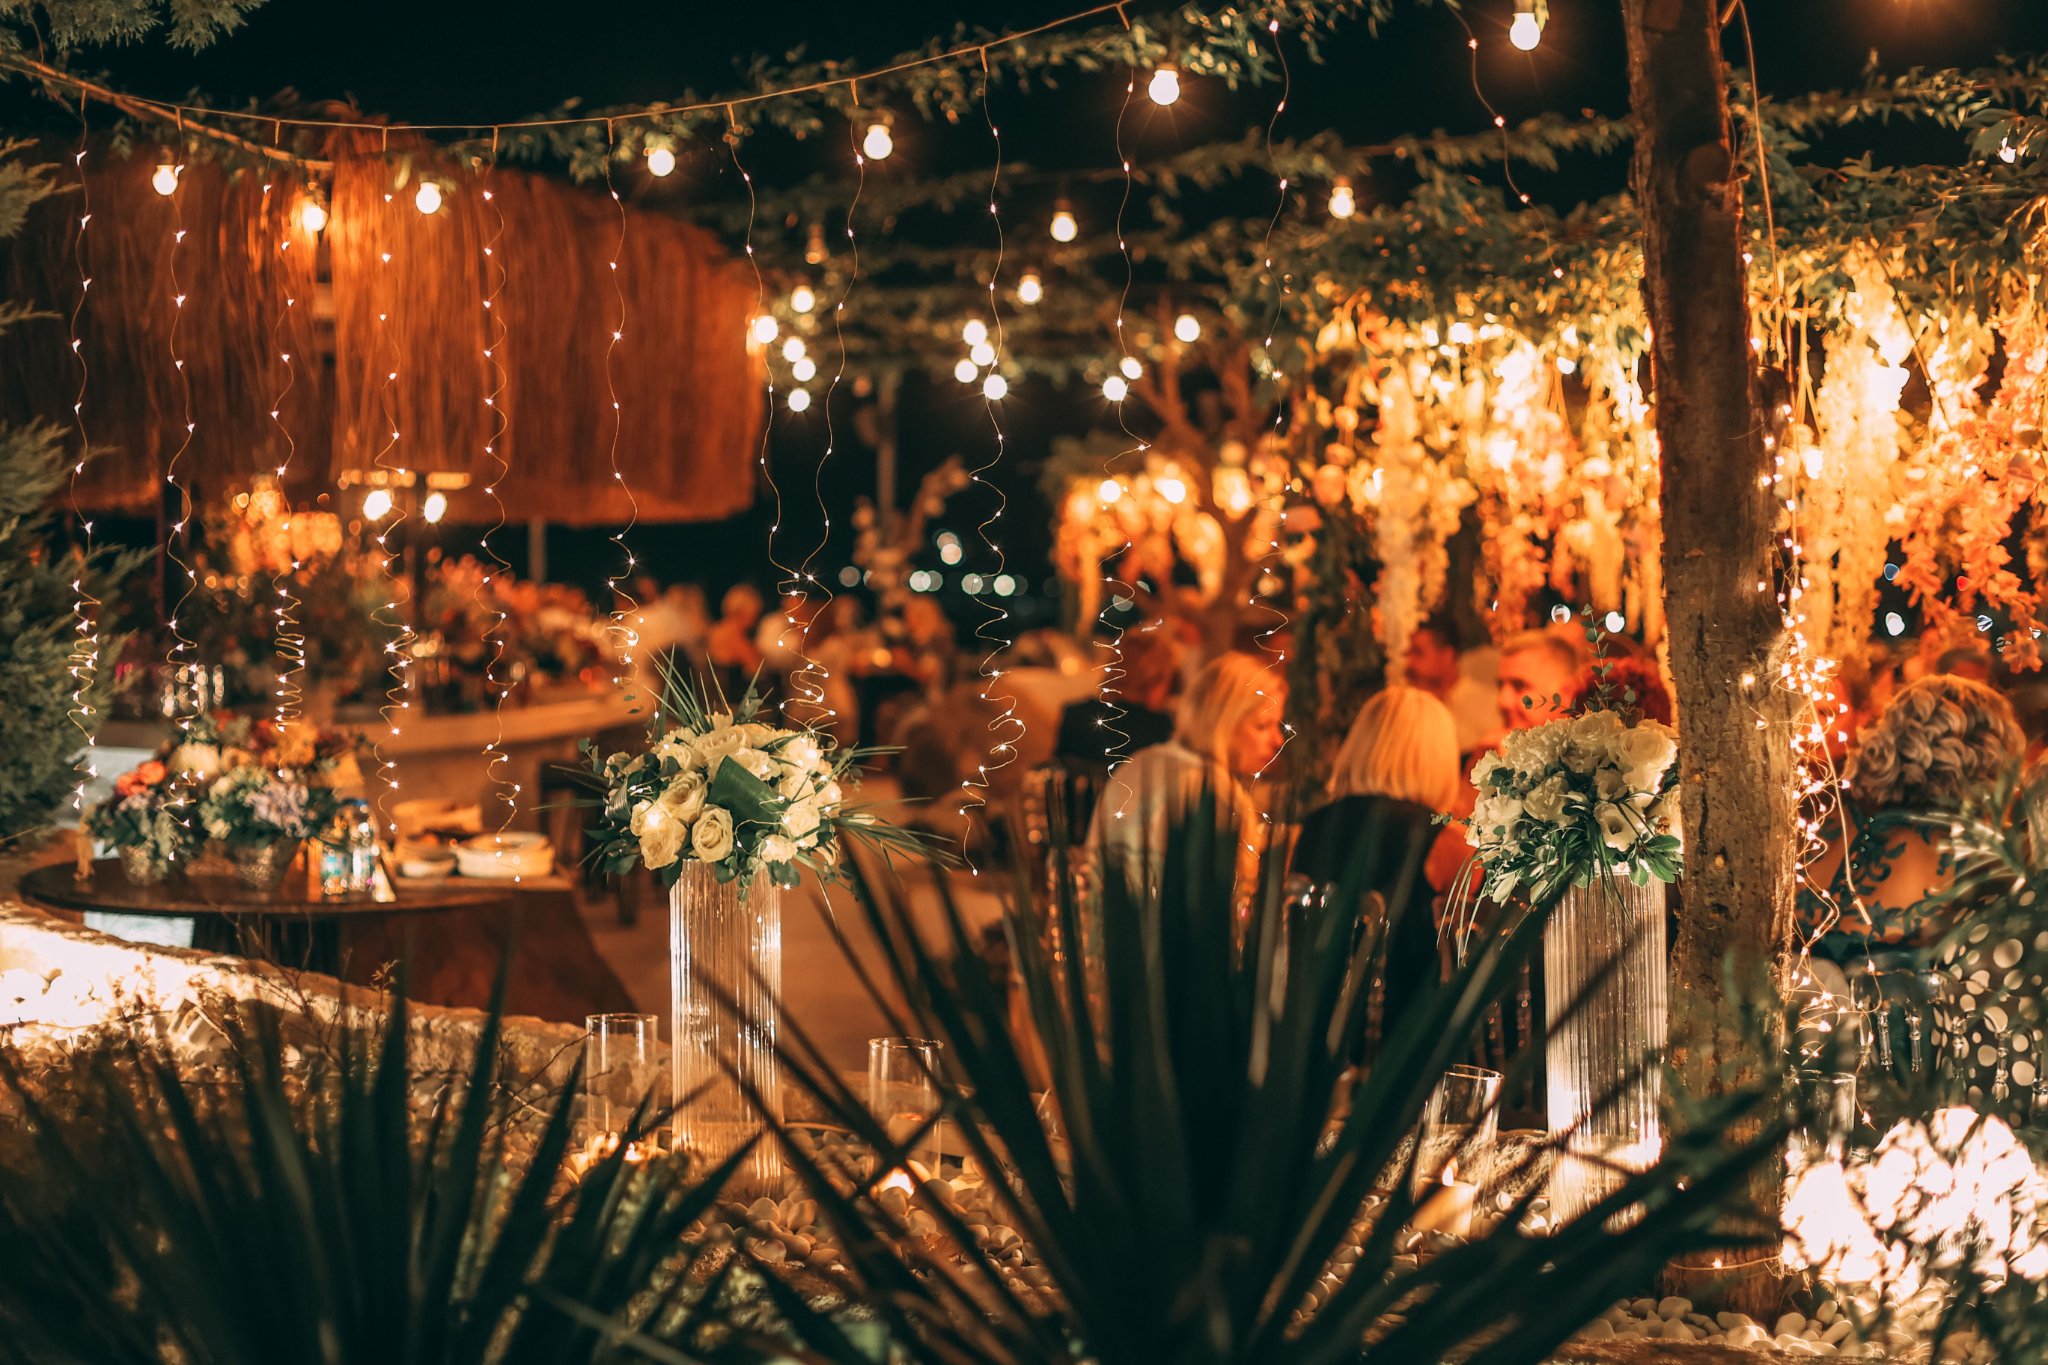
Choose Your Layout Before You Install Anything
One of the biggest differences between an attractive installation and a random-looking one is whether the pattern was planned before the lights were hung.
Outdoor string lights are particularly popular in patio makeovers, pergolas, backyard entertaining spaces, and outdoor dining areas because they create a warm atmosphere without requiring a large fixture in the middle of the space.
The most common layouts are:
Layout |
Best For |
Overall Look |
Difficulty |
Key Consideration |
|---|---|---|---|---|
Zigzag |
Patios, decks, dining areas |
Cozy, relaxed |
Easy |
Keep curves consistent |
X Pattern |
Pergolas, square spaces |
Decorative, dramatic |
Medium |
Avoid excessive overlap |
Perimeter |
Patios, decks, fences |
Clean, defined |
Easy |
Keep the boundary consistent |
Parallel Lines |
Rectangular spaces |
Modern, organized |
Easy–Medium |
Keep lines evenly spaced |
Center Drop |
Dining / focal areas |
Dramatic, intimate |
Medium |
Maintain adequate clearance |
A useful rule: design the pattern from the viewing angle
Do not judge your layout only while standing directly underneath it.
Step back and look at the space from the position where people will actually sit, eat, entertain, or enter the area.
The cozy backyard and pergola setups that perform well visually on Pinterest, Instagram, and TikTok usually look effortless because the pattern is intentional—not because there are more lights.
How to Make String Lights Look Expensive Instead of Cheap
You do not need expensive string lights to create an expensive-looking installation.
You need consistency.
1. Keep the height consistent
If one side of the installation is noticeably lower than the other, the entire space can look unfinished.
When possible, establish the height of the attachment points before you begin.
2. Keep bulb spacing visually consistent
Most commercial-style string lights already have evenly spaced bulbs. Your job is to make sure the overall pattern does not distort those intervals.
Avoid pulling one section extremely tight while allowing another section to hang dramatically lower.
3. Use controlled curves
A small, repeatable curve can make the installation feel relaxed and intentional.
A large, uneven drop can make it look like the lights are failing.
This leads to an important distinction:
The goal isn't zero sag. It's controlled sag.
4. Avoid random crossing
Crossing strings can work when the pattern is deliberately designed, such as an X or crisscross arrangement.
Random crossings usually create visual clutter.
5. Route wires cleanly
The bulbs should be the visual feature—not a collection of loose cables.
Keep excess cable organized and avoid allowing cords to hang into walking paths.
If the area also needs practical visibility, consider combining string lights with outdoor pathway lighting rather than trying to make the string lights do every job.
The “Cozy, Not Cluttered” Rule
The best-looking outdoor string-light installations usually do not depend on maximum brightness or maximum bulb density.
They create:
A clear visual pattern
Warm, comfortable illumination
Consistent spacing
Enough light for the intended activity
A defined outdoor living area
This is why string lights work so well for patios, pergolas, and outdoor dining spaces.
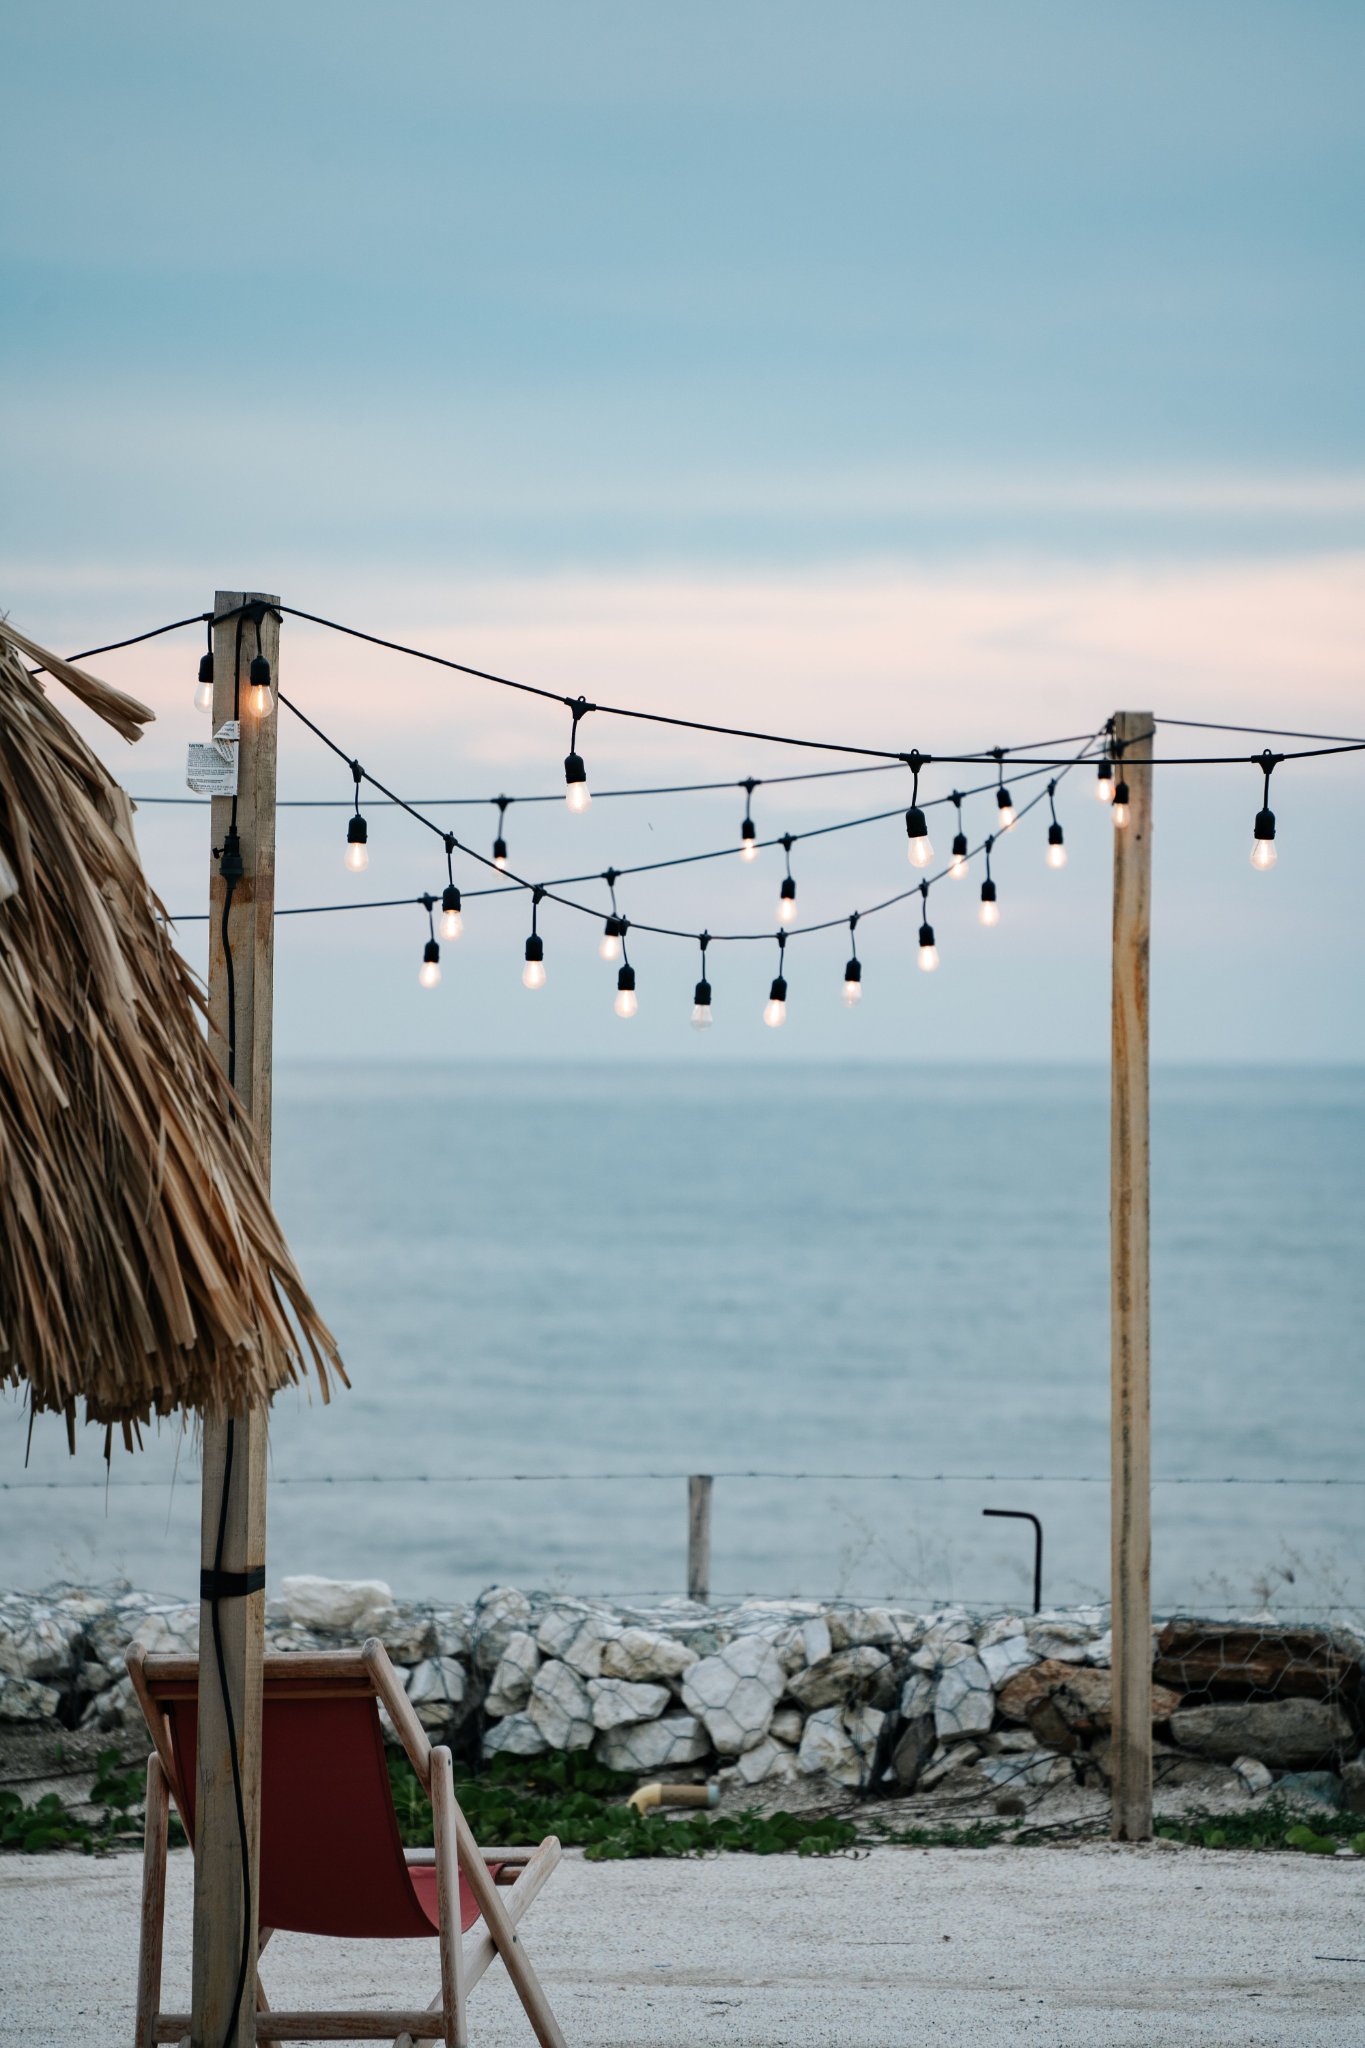
How Much Sag Should Outdoor String Lights Have?
A common mistake is assuming that the lights should be pulled completely straight.
That is not necessarily the goal.
Too much sag
Excessive sag can:
Make the installation look messy
Reduce clearance
Create inconsistent visual lines
Put unnecessary stress on some attachment points
No sag
A string pulled completely tight can look rigid and may place unnecessary tension on the light string or mounting points.
Controlled sag
A modest, consistent curve can look intentional and relaxed.
Think of the curve as part of the design—not an installation mistake.
The amount of sag you can safely and aesthetically use depends on the length of the span, the weight of the string, the support system, environmental conditions, and the manufacturer's instructions.
Do not use a visual rule such as “all string lights should sag exactly X inches” for every installation. A short patio span and a long backyard span are completely different structural situations.
Do You Need a Guide Wire for Outdoor String Lights?
A guide wire is not automatically required for every string-light installation.
It becomes more useful when the span is long, the lights are relatively heavy, the area is exposed to wind, or there are not enough strong attachment points to support the installation.
A useful way to think about it is:
The guide wire supports the weight; the light string provides the light.
You should consider additional support when:
The span is long
The lights are heavy
The installation is permanent
The area is exposed to wind
There are only a few attachment points
You want to minimize tension on the light string
Installation Condition |
Guide Wire? |
Why |
|---|---|---|
Short span |
Usually not necessary |
Multiple attachment points may provide enough support |
Long span |
Often recommended |
Reduces load on the light string |
Heavy bulbs |
Consider it |
Additional support can reduce tension |
Windy location |
Strongly consider |
Helps stabilize longer spans |
Permanent installation |
Consider it |
More durable support system |
Few attachment points |
Often useful |
Provides structural support between endpoints |
Professional-style installations often separate the structural support from the decorative lighting itself. In a 2023 Ask This Old House installation, for example, the team used steel support cable with a mounting system and exterior-rated string lights.
The exact hardware should match the structure, span, light weight, and manufacturer's requirements.
How to Hang Outdoor String Lights Step by Step
Once you have chosen the layout and determined how the installation will be supported, the actual process becomes much easier.
Step 1: Measure the space
Measure the actual route the lights will follow.
Do not estimate based only on the dimensions of the patio.
If the lights will zigzag, follow the approximate path of the pattern when estimating the required length.
Allow enough length for the intended curves without creating excessive slack.
Step 2: Mark the attachment points
Mark where each string will begin, end, and change direction.
Use a temporary method first if possible.
Tape, temporary clips, or another removable marking method can help you visualize the layout before making permanent holes.
This “test before final installation” approach is also useful in broader outdoor lighting projects.
Step 3: Install appropriate mounting hardware
Choose mounting hardware that matches the surface and the load.
Different materials may require different anchors, screws, hooks, or attachment systems.
Do not assume that an adhesive hook, small screw, or decorative clip can safely support every type of outdoor string light.
Step 4: Install the guide wire if needed
For long spans or installations that require additional structural support, install the support system before attaching the lights.
The guide wire should be properly anchored to suitable structural points.
Do not use the electrical cord itself as a substitute for structural support.
Step 5: Attach the string lights
Attach the string lights according to the manufacturer's instructions.
Avoid pulling them excessively tight.
Keep the bulbs and cable positioned so they are not rubbing against sharp edges or creating unnecessary strain at connection points.
Step 6: Adjust the sag
Stand back and inspect the entire installation.
Look for:
Consistent curves
Similar heights
Even visual rhythm
Adequate clearance
No sections under obvious excessive tension
Make adjustments before connecting or finalizing everything.
Step 7: Step back and check the pattern
This is the step people often skip.
Walk away from the installation.
Look at it from:
The seating area
The dining table
The house
The yard
The entrance to the space
If one curve looks dramatically different from the others, fix it now.
Step 8: Test the lights
Once the physical installation is complete, check the lights and connections according to the manufacturer's instructions.
Look for flickering, damaged insulation, loose connections, or other obvious problems.
Outdoor String Light Safety: What Homeowners Actually Need to Know
A beautiful installation is not successful if it creates an electrical, structural, or trip hazard.
Use lights rated for outdoor conditions
Choose string lights specifically intended for the environment where they will be installed.
Outdoor products are designed differently from indoor-only decorative lighting.
Also pay attention to whether a product is intended for damp or wet locations and follow the manufacturer's rating.
Wayfair's outdoor lighting guide explains the distinction between damp- and wet-location fixtures and why the environmental rating matters when choosing outdoor lighting.
Follow the manufacturer's connection limits
Do not assume that you can connect unlimited strings together.
Follow the product's instructions for maximum connected strands, wattage, power source, and installation.
Protect electrical connections
Outdoor connections can be exposed to rain, condensation, irrigation, and other moisture.
Use only connection methods and accessories appropriate for the product and installation.
Do not improvise waterproofing with household materials that are not intended for electrical use.
Keep cords out of walking paths
A patio can look beautiful while still creating a trip hazard.
Route cords away from:
Doorways
Stairs
Walkways
High-traffic areas
Areas where chairs are frequently moved
Check mounting points
A loose hook is not just an aesthetic problem.
If a mounting point fails, the entire string can fall and potentially damage the light, structure, or people below.
Be careful around utility lines
Never use a ladder or installation method that brings you dangerously close to overhead utility lines.
For installations involving new hardwired electrical work, complicated wiring, or uncertainty about local requirements, use a qualified professional.
The Home Depot's current outdoor string-light guide also emphasizes planning around trees, decks, siding, posts, and temporary installations rather than treating every surface the same way.
Think beyond the string lights
String lights are usually best viewed as one layer of an outdoor lighting system.
If guests need to safely walk from the patio to the house, for example, outdoor pathway lighting may be a better tool for that specific job than increasing the brightness of your overhead string lights.
The 5-Minute Inspection Before You Turn Them On
Before you consider the project finished, walk around the entire installation.
Check the structure
Are all attachment points secure?
Is any hardware pulling away from the surface?
Is the support system stable?
Check the string
Is the cable damaged?
Is the insulation cracked?
Are any bulbs or sockets damaged?
Is any part of the string under excessive tension?
Check the layout
Is the sag consistent?
Are the lines visually balanced?
Are any bulbs unusually low?
Are any cables crossing where they should not?
Check the ground
Are cords away from walking paths?
Are there loose cables near stairs or doors?
Could furniture catch on a cord?
Check the power
Is the product being used according to its instructions?
Are connections appropriate for outdoor conditions?
Are you staying within the manufacturer's connection and power limits?
Check the overall experience
Finally, turn on the lights and look at the space from where people will actually use it.
The best installation should feel effortless.
You should notice the space, not the hardware holding the lights up.
FAQ
How do you keep outdoor string lights from sagging?
Use secure attachment points, avoid unnecessarily long unsupported spans, and consider a separate support or guide wire when the installation requires it. Do not simply pull the electrical string extremely tight.
How far apart should string light support points be?
There is no universal distance that works for every product and installation. Support spacing should account for the light string's weight, span length, environmental conditions, mounting hardware, and manufacturer instructions.
How do you hang string lights without drilling?
For rental properties or temporary setups, removable clips, hooks, railing attachments, or freestanding supports may work depending on the surface and product. Always make sure the chosen method can safely support the installation.
How do you make string lights look less cheap?
Focus on consistency rather than quantity. Keep the height, spacing, pattern, and curves intentional. Avoid random crossings and excessive visible cable.
Can outdoor string lights stay up all year?
Some products are specifically designed for permanent outdoor use, while others may be intended for seasonal or temporary installation. Check the manufacturer's instructions, environmental rating, and recommended installation conditions before leaving lights outdoors year-round.
Are solar string lights safer than plug-in string lights?
Solar string lights can eliminate the need for a nearby electrical outlet and may simplify installation, but “solar” does not automatically mean “safe.” The product still needs to be suitable for outdoor use, securely mounted, and installed according to its instructions.
What's the easiest way to get a professional-looking result?
Plan the layout before installing anything, use appropriate support, keep the pattern consistent, create controlled rather than excessive sag, route cables cleanly, and inspect the entire installation before use.
The goal is simple:
Don't just hang the lights. Design the space.
Share:
Outdoor Soffit Lighting Comparison Guide for Homeowners
How to Hang Outdoor Lights: A Complete Guide for a Beautiful and Safe Setup