
You can start installing LED lighting for your outdoor spaces using simple tools and easy-to-follow kits. Many people opt for peel-and-stick options or utilize transformers for a more permanent setup. These LED lights enhance your home’s curb appeal while providing energy efficiency. In fact, switching to LED outdoor lighting can save you up to 75% on energy costs.
Key Takeaways
Putting in LED outdoor lights can make your home look better and help you save as much as 75% on energy bills.
Get important tools like a drill, wire strippers, and a screwdriver before you begin. This will make the job easier.
Safety comes first. Turn off the power, use weatherproof parts, and follow the right steps when installing.
Installing LED Lighting: Quick Overview
Main Steps for LED Outdoor Lights
If you want a fast answer, here’s how you can get started with installing led lighting outside:
Gather your tools and materials. You’ll need a drill, screwdriver, ladder, wire strippers, and a tape measure.
Turn off the power before you begin. Always use insulated tools to stay safe.
Mount your LED lights on walls, eaves, or wherever you want them. Make sure the lights are weatherproof.
Run the wires and connect your lights to the power source. Secure the wiring so it stays in place.
Test all the connections. Once you know everything works, turn the power back on and enjoy your new lights.
Tip: Many LED kits come with easy instructions and peel-and-stick options. These can make installing led lighting even faster.
Who Should Install LED Outdoor Lights?
You don’t need to be an expert to handle most outdoor lighting projects. If you like hands-on work, diy installation is a great choice. Many homeowners find these projects simple and rewarding. You can follow the kit instructions and finish the job in a few hours. If you have a big yard or want a complex design, you might want to call a professional. Either way, you can enjoy bright, energy-saving lights outside your home.
Planning Outdoor Backyard Lighting
Measuring and Layout for LED Outdoor Lights
Before you start installing lights, take a walk around your backyard. Look for dark spots, walkways, and places where you want to add some glow. Grab a tape measure and jot down the length of paths, patios, and garden beds. This helps you figure out how many lights you need and where to put them.
Here’s a quick table to help you plan your layout:
Factor |
Description |
|---|---|
Assessing Your Space |
Check your backyard for areas that need light for safety or style. |
Choosing the Right Fixtures |
Pick lights that match your style and can handle outdoor weather. |
Energy Efficiency and Sustainability |
Use LED outdoor lights to save energy and lower your bills. |
Safety and Security Considerations |
Light up paths and entrances to keep your backyard safe. |
Creating a Layered Lighting Plan |
Mix different types of lights for the best look and safety. |
When you space your lights, try these tips:
Pathway lights work best 6 to 8 feet apart.
Accent lights can go 3 to 5 feet apart for small features, or 10 to 15 feet for bigger trees.
Deck or step lights should be 4 to 6 feet apart.
Choosing Permanent LED Outdoor Lights
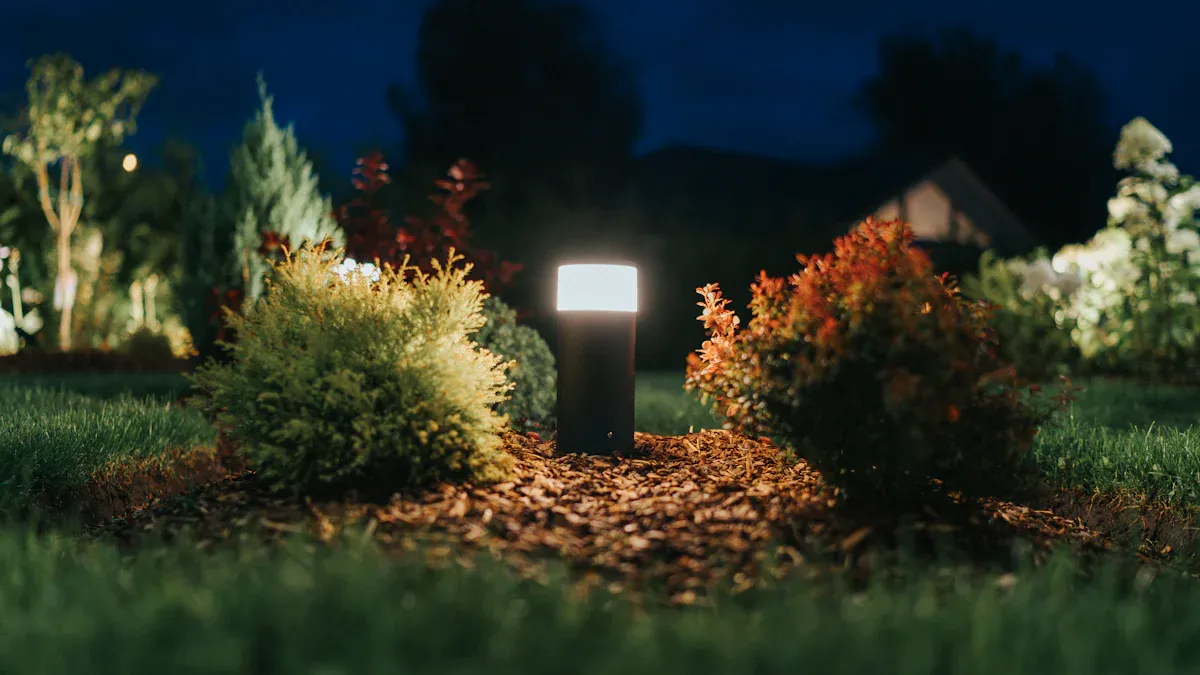
Now comes the fun part—choosing the right fixtures for your backyard. Think about what you want your space to look like at night. Do you want a cozy vibe or a bright, safe walkway? Permanent led outdoor lights are a great choice if you want something that lasts. Many come with peel-and-stick options, so you can install them without drilling holes.
Look for lights that are weatherproof and match your home’s style. Some even use solar power, which saves even more energy. When you focus on choosing the right fixtures, you make your backyard both beautiful and safe.
Tools and Materials for Installing LED Lighting
Getting the right tools and materials makes your LED outdoor lighting project much easier. You do not need fancy equipment, but you do need a few basics to get the job done right. Let’s look at what you should have before you start.
Essential Tools for LED Outdoor Lights
You want your lights to work well and last a long time. Here are the most common tools and materials you will use:
Wire stripper – This tool helps you remove the insulation from wires.
Crimp tool – You use this to connect wires tightly.
6-in-1 screwdriver – It works for many types of screws.
Silicone filled connectors – These keep your connections safe from water.
12 gauge low voltage landscaping wire – This wire connects your lights together.
Voltmeter voltage detector – You use this to check if your wires have power.
Wire and edging trencher – This tool helps you dig small trenches for wires.
Tip: Always double-check your tools and materials before you start. This saves time and helps you avoid mistakes.
Materials for Permanent and In-Ground Lights
When you choose permanent led outdoor lights, you want them to last through all kinds of weather. Look for lights with strong silicone seals. These seals keep out rain and moisture, so your lights stay bright and safe. For in-ground lights, this waterproofing is even more important.
You also need the right transformer. Pick one that matches the total wattage of your lights. Magnetic transformers work best for big projects, while electronic ones fit smaller setups. Always add up the wattage of your lights before you buy a transformer.
A quick table can help you remember what you need:
Item |
Why You Need It |
|---|---|
Transformer |
Powers your lights safely |
Silicone filled connectors |
Protects against water |
Low voltage wire |
Connects all your lights |
Weatherproof fixtures |
Keeps lights working in any season |
With the right tools and materials, you can install your lights quickly and safely.
Safety Tips for LED Outdoor Lights
Electrical Safety and Transformer Use
You want your outdoor lighting project to be safe from start to finish. Always follow safety precautions when working with electricity. Here are some important tips to keep in mind:
Use GFCI outlets and weatherproof connections for every outdoor light.
Pick components rated for outdoor use, even if you install them under a covered patio.
Make a plan before you start. Figure out your power needs and protect all wiring from rain and moisture.
Stick to safety requirements every time. This helps prevent lighting failures and fire hazards.
Install your lights using proper techniques. Following guidelines lowers the risk of accidents.
Transformers play a big role in keeping your LED outdoor lights safe and working well. Check out this table to see how they help:
Feature |
Benefit |
|---|---|
Step-Down Power |
|
Lower Shock Risk |
Minimizes electrical shock during installation |
Many transformers also include thermal protection, short circuit protection, and overload protection. These features help your lights last longer and shine brighter.
Ladder and Outdoor Safety Precautions
You might need a ladder to reach high spots. Using a ladder safely is just as important as wiring your lights. Here are some steps you should follow:
Place your ladder on firm, level ground. Use levelers if the soil is soft.
Follow the 4:1 rule for extension ladders. Secure the top to the structure if you can.
Keep three points of contact while climbing. Use two hands and one foot or two feet and one hand.
Always face the ladder. Move the ladder instead of leaning sideways.
Keep your belt buckle between the rails. This helps you avoid overreaching.
Carry tools in a tool belt or use a hoist line. Never climb with tools in your hands.
Limit your time on the ladder. Use a platform ladder for longer jobs.
Pay attention to fixture placement and light direction. This helps you avoid glare and dark patches that can cause accidents. If you ever feel unsure, ask a professional for help.
Step-by-Step Installation of LED Outdoor Lights
Ready to light up your backyard? You can follow these step-by-step instructions to make installing led lighting easy and safe. Let’s walk through each part of the process so you get the best results.
Preparing the Area and Power Source
Before you start, you need to get your space ready. This helps you avoid problems and keeps you safe. Here’s what you should do:
Find and mark any existing cable or irrigation lines. You don’t want to hit anything underground when you dig.
Mount your lighting transformer in a dry, well-ventilated spot. Pick a place close to your main electrical source.
Make trenches for your wire. Dig carefully and avoid any marked hazards.
Tip: Always follow safety precautions when working near underground cables. Wear gloves and use insulated tools.
Mounting Permanent LED Outdoor Lights
You want your lights to last through every season. Use these best practices to make sure your permanent led outdoor lights stay strong and look great:
Best Practices for Mounting Permanent LED Outdoor Lights |
Description |
|---|---|
Use specialized mounting tracks |
Attach under eaves or fascia to protect the roof and hide wires. |
Choose waterproof connectors |
Protect wiring from moisture to ensure durability. |
Secure wiring with cable clips |
Keep wires neat and safe from damage. |
Inspect wiring regularly |
Check for wear or damage to maintain functionality. |
Use appropriate mounting hardware |
Prevent sagging or damage during storms. |
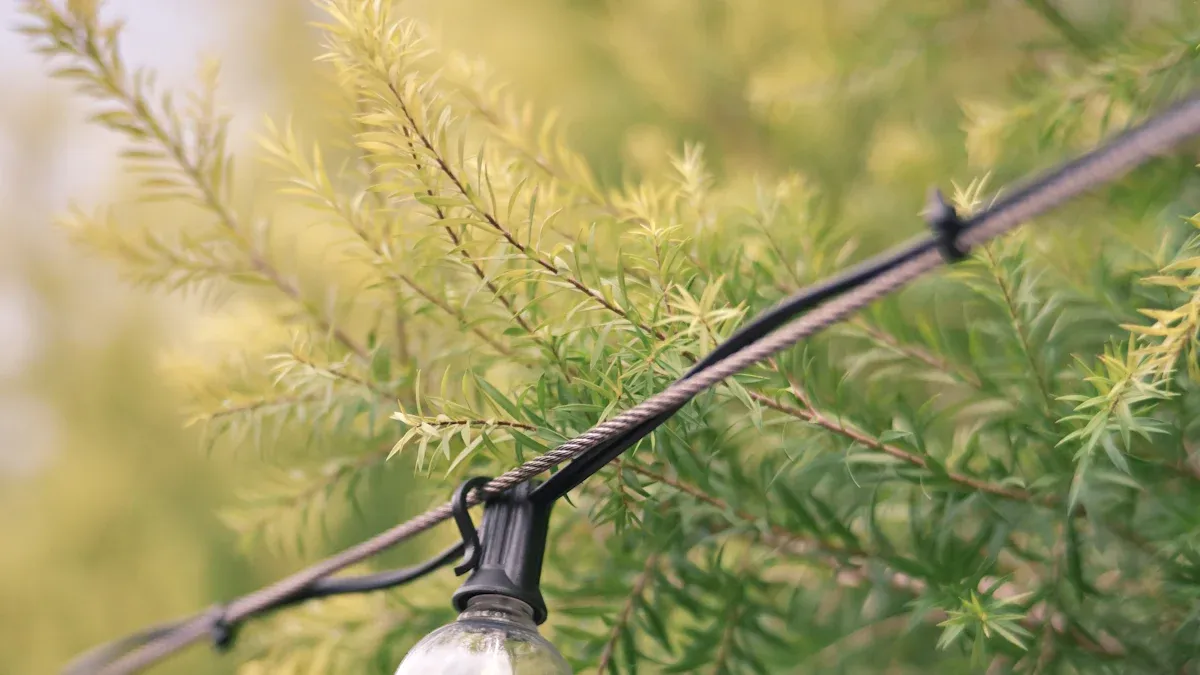
You can also use all-in-one clips for asphalt roofs and gutters. Vinyl siding hooks work well for homes with vinyl siding. Plastic zip ties help you secure lights to railings and porches.
Note: Peel-and-stick lights make installing led lighting even easier. Clean the surface before you stick the lights. Press firmly so they stay in place.
Wiring and Connecting to Transformer
Wiring is the heart of your lighting system. You want to follow step-by-step instructions to keep everything safe and working. Here’s how you do it:
Turn off the power to your outdoor lighting transformer.
Pull apart the cable wires about six inches.
Strip about half an inch of insulation from each wire using wire strippers.
Twist the ends of each wire tightly together.
Insert the twisted wires into waterproof connectors. Make sure they are secure.
Turn the power back on and test if the fixture lights up.
Bury the cables in your trenches to protect them from weather and damage.
Tip: Use silicone-filled connectors for extra moisture protection, especially for in-ground lights.
Testing and Adjusting LED Outdoor Lights
After you finish installing led lighting, you want to make sure everything works just right. Follow these step-by-step instructions:
Check for proper functionality. Turn on your led outdoor lights and see if each one lights up.
Adjust brightness levels and color temperatures if your fixtures allow it.
If a light doesn’t work, check the connections and power source. Replace faulty bulbs with spares.
Use your user manual to adjust settings if needed.
Tip: Walk around your yard at night to see how the lights look. Move fixtures or change angles to get the best effect.
Now you know the step-by-step installation process for permanent led outdoor lights. You can enjoy a brighter, safer backyard with just a few simple steps.
Maintenance and Troubleshooting for LED Outdoor Lights
Routine Care for Outdoor Backyard Lighting
You want your lights to shine bright every night. Regular care keeps your outdoor backyard lighting working well and looking great. Here are some easy tasks you can do:
Check wiring and connections often. This helps prevent hazards and keeps everything working.
Replace any faulty lamps right away. Fresh bulbs make your system last longer.
Inspect LED drivers and connections. You avoid flickering or sudden failures.
Clean fixtures and lenses. Dirt can block light and make your yard look dim.
Watch for heat buildup. Good airflow stops your lights from overheating.
Look for cracks, loose fittings, or exposed wires. Fix these problems before they get worse.
Trim plants around your lights. This keeps the light clear and bright.
Test timers and sensors. You want your lights to turn on and off at the right times.
Seal and protect fixtures from rain and snow.
Tip: A quick cleaning and inspection every month helps your lights last for years.
Common Issues and Quick Fixes
Sometimes, your LED lights might act up. You can fix many problems with simple steps. Here’s a table to help you spot issues and find fast solutions:
Issue |
Solution |
|---|---|
Check voltage, make sure dimmers match, inspect wiring, replace drivers. |
|
Dim Lights |
Check voltage, swap old LEDs, improve airflow. |
Light Not Turning On |
Replace fuses, check wiring, test drivers or LEDs. |
Buzzing Noise |
Change dimmer switches, replace noisy drivers. |
Discoloration |
Improve airflow, use quality LEDs, check voltage. |
Shortened Lifespan |
Control heat, use good parts, add surge protectors. |
Unresponsive Remote |
Change batteries, remove interference, reset receiver. |
Inconsistent Color Temp |
Use same batch LEDs, adjust settings. |
Water Damage |
Use waterproof fixtures, check for leaks. |
Sudden Brightness Drop |
Check power supply, cool fixtures, replace bad parts. |
If a light stops working, try these steps:
Inspect wiring for loose or damaged spots.
Tighten wires and swap out any bad sections.
Reset circuit breakers and test the transformer.
Clean fixtures and lenses.
Call an electrician if you still have trouble.
Note: Quick fixes keep your lights shining and your yard safe.
DIY vs. Professional Installation
Cost and Benefits of Installing LED Lighting Yourself
You may ask if doing it yourself is a good idea. If you like working with your hands, you can save money by putting in LED outdoor lights on your own. Here is a table that shows the cost difference:
Installation Type |
Cost for 10 Lights |
|---|---|
DIY Installation |
$850 |
Professional Installation |
$3000 - $3500 |
Doing it yourself lets you keep more of your money. You also get to pick where your lights go. You learn new things and feel proud when you finish. If you follow the steps and use the right tools, you can make your yard look great without spending too much.
Tip: Most kits have simple guides, so you do not need special skills to begin.
When to Hire a Professional
Sometimes, it is better to let an expert do the job. You should hire a professional if your project is too big or hard. Professionals know how to put in lights safely and quickly. They help you avoid mistakes that could cost more later.
Here are some reasons to pick a professional:
Experts have lots of practice and know what to do.
They know the rules and use good parts.
You save money by not having to fix mistakes.
Professionals help stop electrical problems.
They put lights in the right spots for safety.
Good lighting can help keep your home safe from intruders.
Lighting companies can also help after the job is done. They check your lights, change bulbs, and fix things if needed. When you choose a professional, find someone with experience, fair prices, and good reviews. Ask questions and make sure they can finish on time.
Note: If you want to feel safe and have lights that last, hiring a professional is a good choice.
You can install LED outdoor lights with just a few tools and a little planning. These lights boost curb appeal and make your home safer. Check out the benefits below:
Benefit |
Description |
|---|---|
Enhancing Curb Appeal |
Lights highlight your home’s best features. |
Improving Security and Safety |
Bright yards help keep you and your guests safe. |
Extending Usable Living Space |
Outdoor lights create fun spaces for relaxing or entertaining. |
Highlighting Unique Features |
Show off special parts of your yard or house. |
Try DIY if you feel confident, but always put safety first. For bigger projects, call a pro. You can transform your outdoor space and enjoy it every night!
FAQ
How long does it take to install LED outdoor lights?
You can finish most DIY installations in one afternoon. Kits with peel-and-stick options make the process even faster.
Can you install LED outdoor lights without hiring an electrician?
Yes, you can handle most kits yourself. Follow the instructions and safety tips. Call a pro if you feel unsure.
What should you do if an LED light stops working?
Check the bulb and wiring first. Replace the bulb if needed. If the problem continues, look at the connections or ask for help.
Share:
Understanding IP Ratings for Bathroom and Outdoor Lighting Fixtures
Best Tips for Hanging Pendant Lights Above Your Kitchen Island